

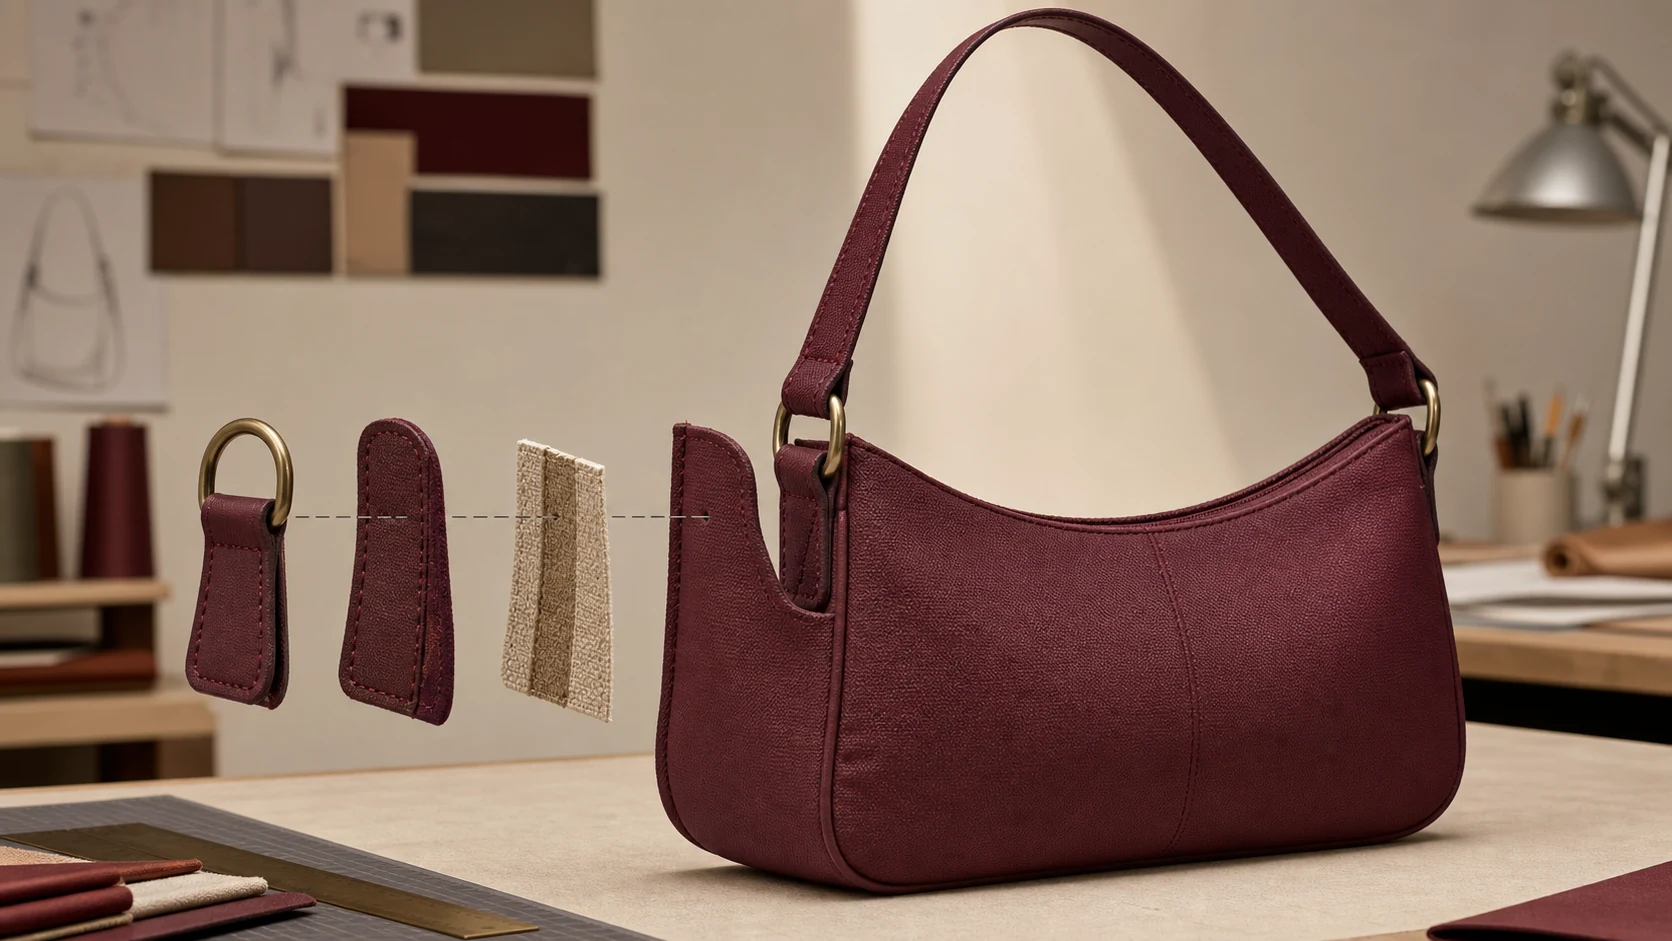
A handbag strap can survive a hard pull while the bag still fails at the first outing. The weak point is often not the strap material. It is the small system where strap, ring, tab, reinforcement and body panel meet.
That distinction matters before sampling. A thicker strap does not automatically create a stronger bag; it may simply transfer more force into an underbuilt anchor. For a brand founder reviewing a new design, the useful question is: where should the load go, and what should happen before anything tears?
Stop approving the strap in isolation
SATRA TM244 evaluates load-bearing fittings such as handles, straps, clips and D-rings by stressing the assembly until the fitting or its attachment fails. BOKEN’s handle-attachment method likewise observes where abnormality occurs while pulling in the use direction and the reverse, peeling direction. The shared lesson is practical: an attachment is a system, not a hardware shopping item.
Picture a crossbody bag with a narrow folded tab stitched into a soft side panel. The webbing may be excellent and the D-ring may be heavy, yet the stitch line can act like a perforation if the load is concentrated across too little material. Swap in an even heavier ring and the visual upgrade can become a structural penalty.
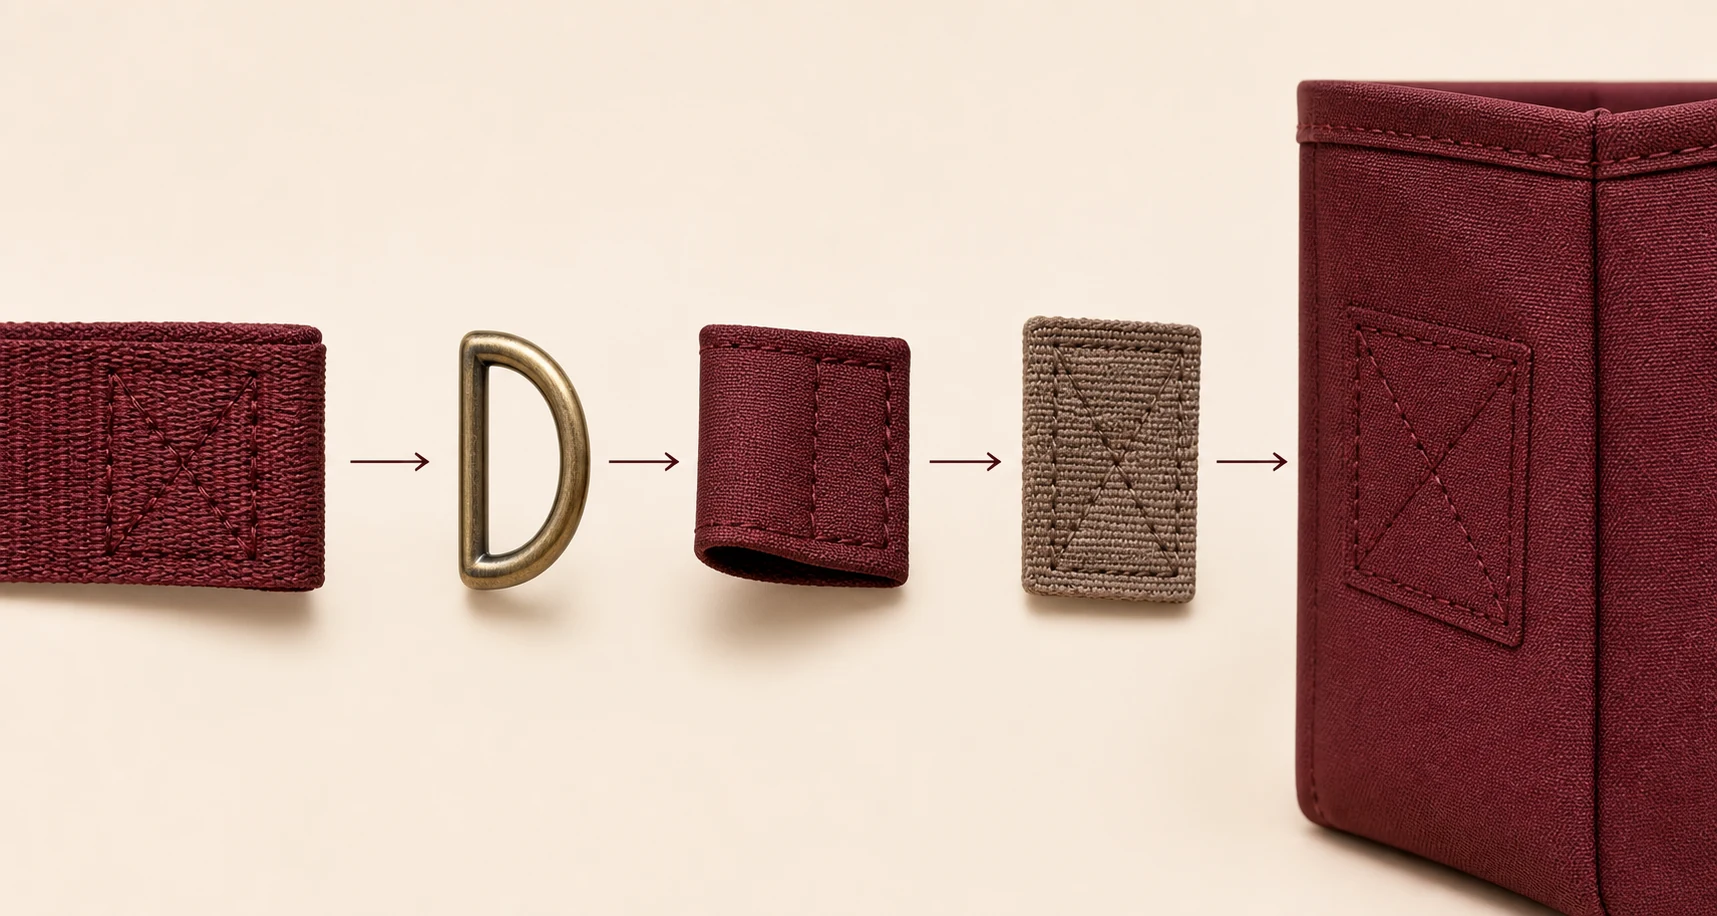
Map the load path before choosing reinforcement
Use a simple five-link review for each handle or shoulder-strap anchor:
- Strap: width, thickness, stretch and edge construction.
- Connector: snap hook, buckle, ring or fixed loop—and the direction it naturally pulls.
- Anchor tab: folded material, webbing core or another construction chosen for the design.
- Reinforcement: the hidden layer that spreads force beyond the visible stitch line.
- Body panel: the material and seam receiving the load.
The goal is not to specify one universal construction. It is to stop one component from being approved without its neighbors. Intertek specifically lists strap fastenings, buckles and handles among the strength considerations for bags and luggage. Actual acceptance criteria still need to match the bag’s intended capacity, market, materials and test plan.
Three sample failures tell you three different things
The tab tears beside the stitches. The hardware may be fine; the force is probably too concentrated for that material and geometry. Discuss a wider load-spreading shape, reinforcement or a different seam relationship.
The stitching opens but the panel stays intact. Review stitch pattern, thread, seam allowance and how the sample was loaded. More stitches are not automatically safer if they crowd or weaken the same narrow zone.
The ring rotates and pulls the tab sideways. This is a geometry problem before it is a material problem. A connector that looks centered on a flat table may twist under real carrying angles.
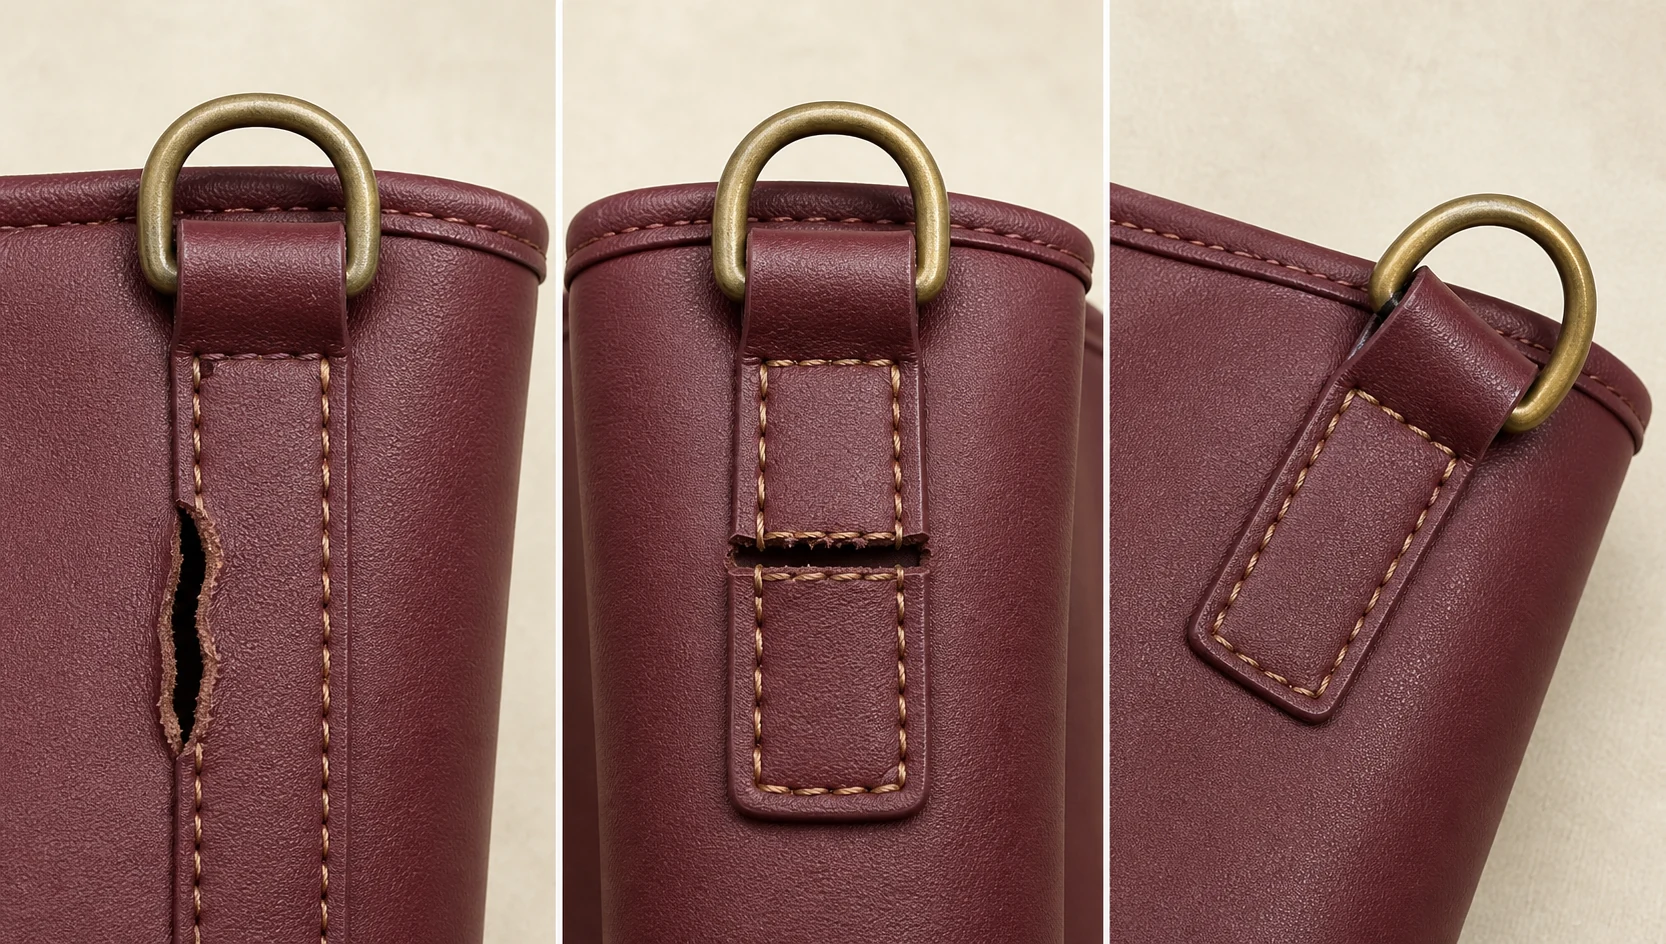
Do not reduce these observations to “make it stronger.” Record the load, direction, contents, failure location and the sequence of visible changes. A repair photo can show where something broke; it cannot prove why without the construction details and a controlled test.
Put these decisions into the sample brief
Add one attachment page to the brief with:
- the intended carrying mode and maximum design load for discussion;
- front, side and inside views of every anchor;
- strap width, adjustment range and connector orientation;
- tab dimensions and visible stitch boundaries;
- the intended body material and any hidden reinforcement proposal;
- a request to record the failure location, not only pass or fail;
- the target market and any required test method or buyer protocol.
This is also where product choice becomes honest. A delicate-looking tab may be central to the design. Keep it if the sampling and test plan support it; do not silently assume that a bulkier patch is the only route. Conversely, a decorative rivet should not be described as structural until the assembly has been reviewed and tested as such.
Ask for evidence at the point of failure
Before approving a handbag sample, photograph the attachment from outside and inside, then review it under the intended load direction. If a test is performed, keep the setup, load, failure mode and sample version together. A single “passed” message is less useful than knowing what was tested and where the assembly began to change.
XAOBAG’s actual reinforcement options, equipment, acceptance criteria and testing arrangements must be confirmed for each project. To discuss a design, share the attachment views and intended carry load with our product-development team. You can also review the broader OEM/ODM context before preparing the sample brief.
Sources
- Luggage fittings attachment strength — SATRA TM244 (accessed August 25, 2026).
- Handle and slide-handle attachment strength — BOKEN Quality Evaluation Institute (accessed August 25, 2026).
- Luggage and Bags Testing — Intertek (accessed August 25, 2026).